Set up UiPath Data Service Process
Prerequisite
Download the retail-case-workflow UiPath process by clicking on the Download button below.

Unzip the file, you will need the it later during the process setup.
Setting up UiPath Data Service Process
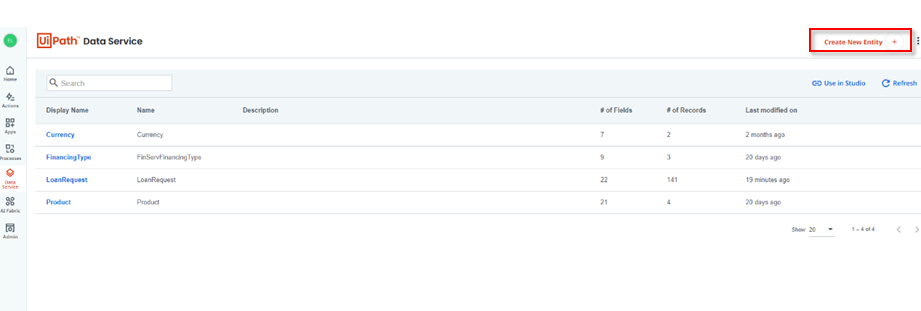
Log in https://cloud.uipath.com/, go to your orchestrator tenant/Data Service and click the Create New Entity button.
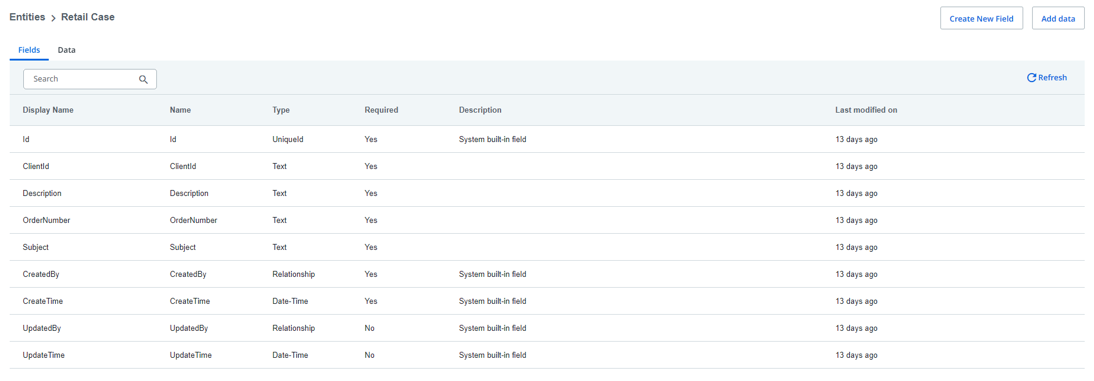
Create the RetailCase entity with the following fields:
DisplayName:ClientId
NAME: ClientId
TYPE:Text
DisplayName:Description
NAME: Description
TYPE:Text
DisplayName:OrderNumber
NAME: OrderNumber
TYPE:Text
DisplayName:Subject
NAME: Subject
TYPE:Text
Switch to UiPath Studio and open retail-case-workflow.
Click Manage Entities and select RetailCase and SystemUser.

Click Publish.
Click Next, select Publish to Orchestrator Tenant Process Feed and click Publish
Set up the retail-case-workflow UiPath process by following the Starting UiPath Unattended Process procedure.
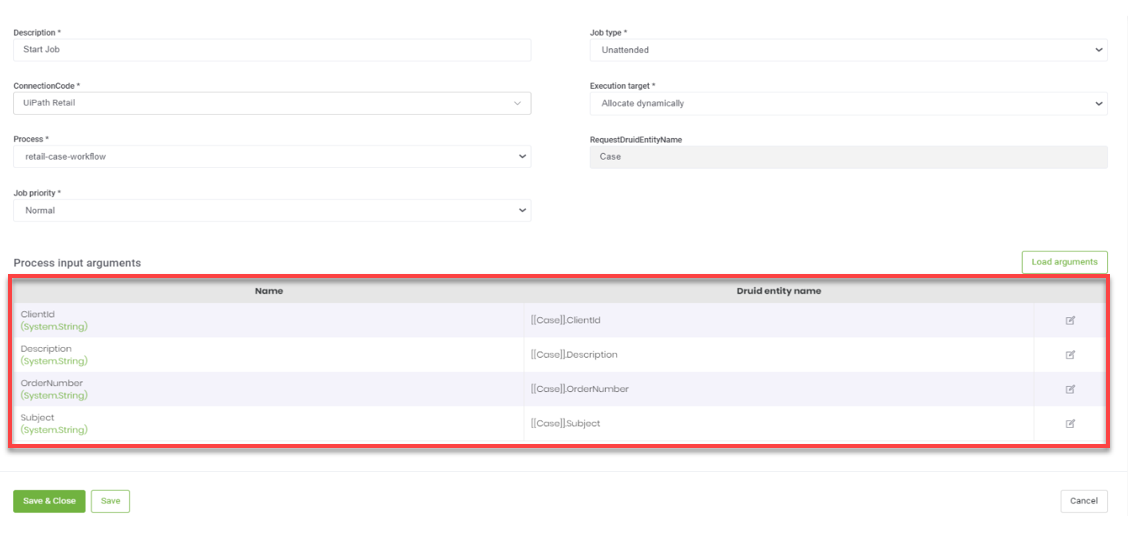
After you publish the process in the orchestrator and set up the webhooks, in the Druid ChatBot Portal, go to Integrations and search for the add-complain-add-case integration. Load the input and output arguments (TicketNumber>[[Case]].TicketNumber) and map them as shown in the figure below: